Showing posts with label scherenschnitte. Show all posts

Monday, 2 May 2016

Banana leaf papercut - now in my shop

So. Much. Papercutting. 

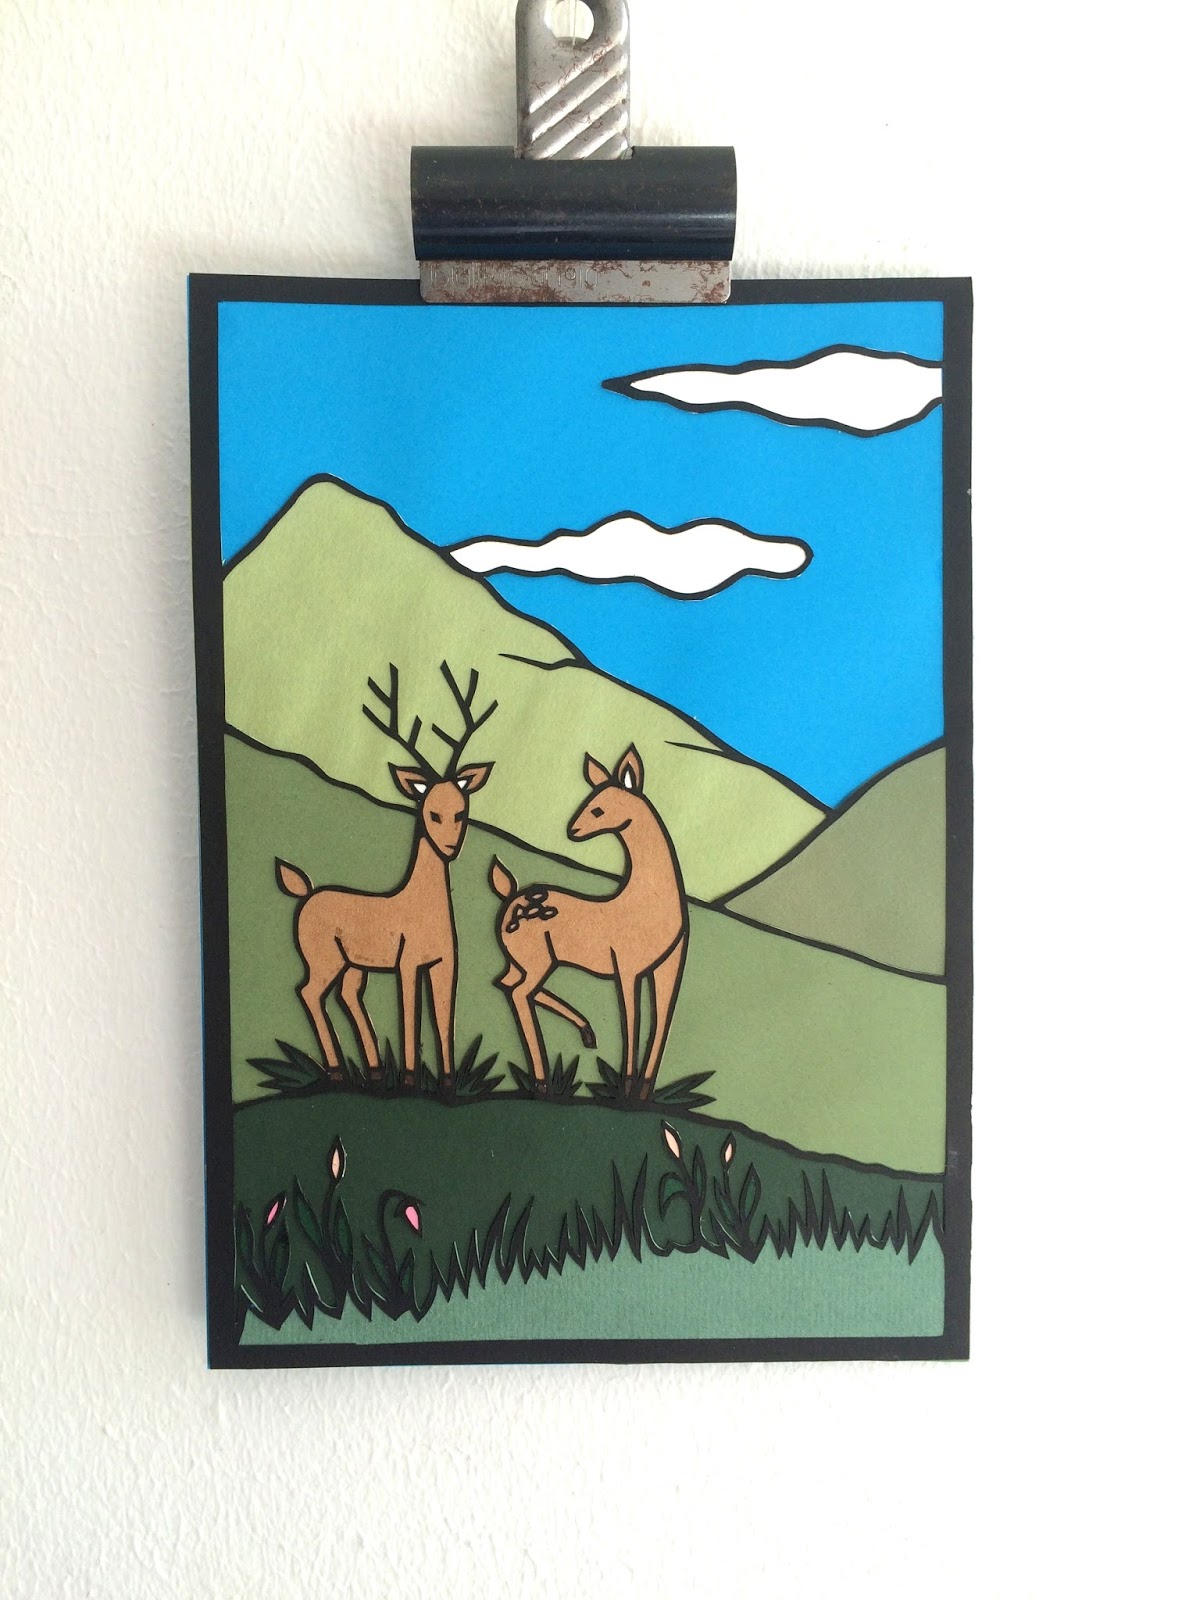
I'm really enjoying being so productive at the moment. I'm really happy with my latest piece, this banana leaf design:


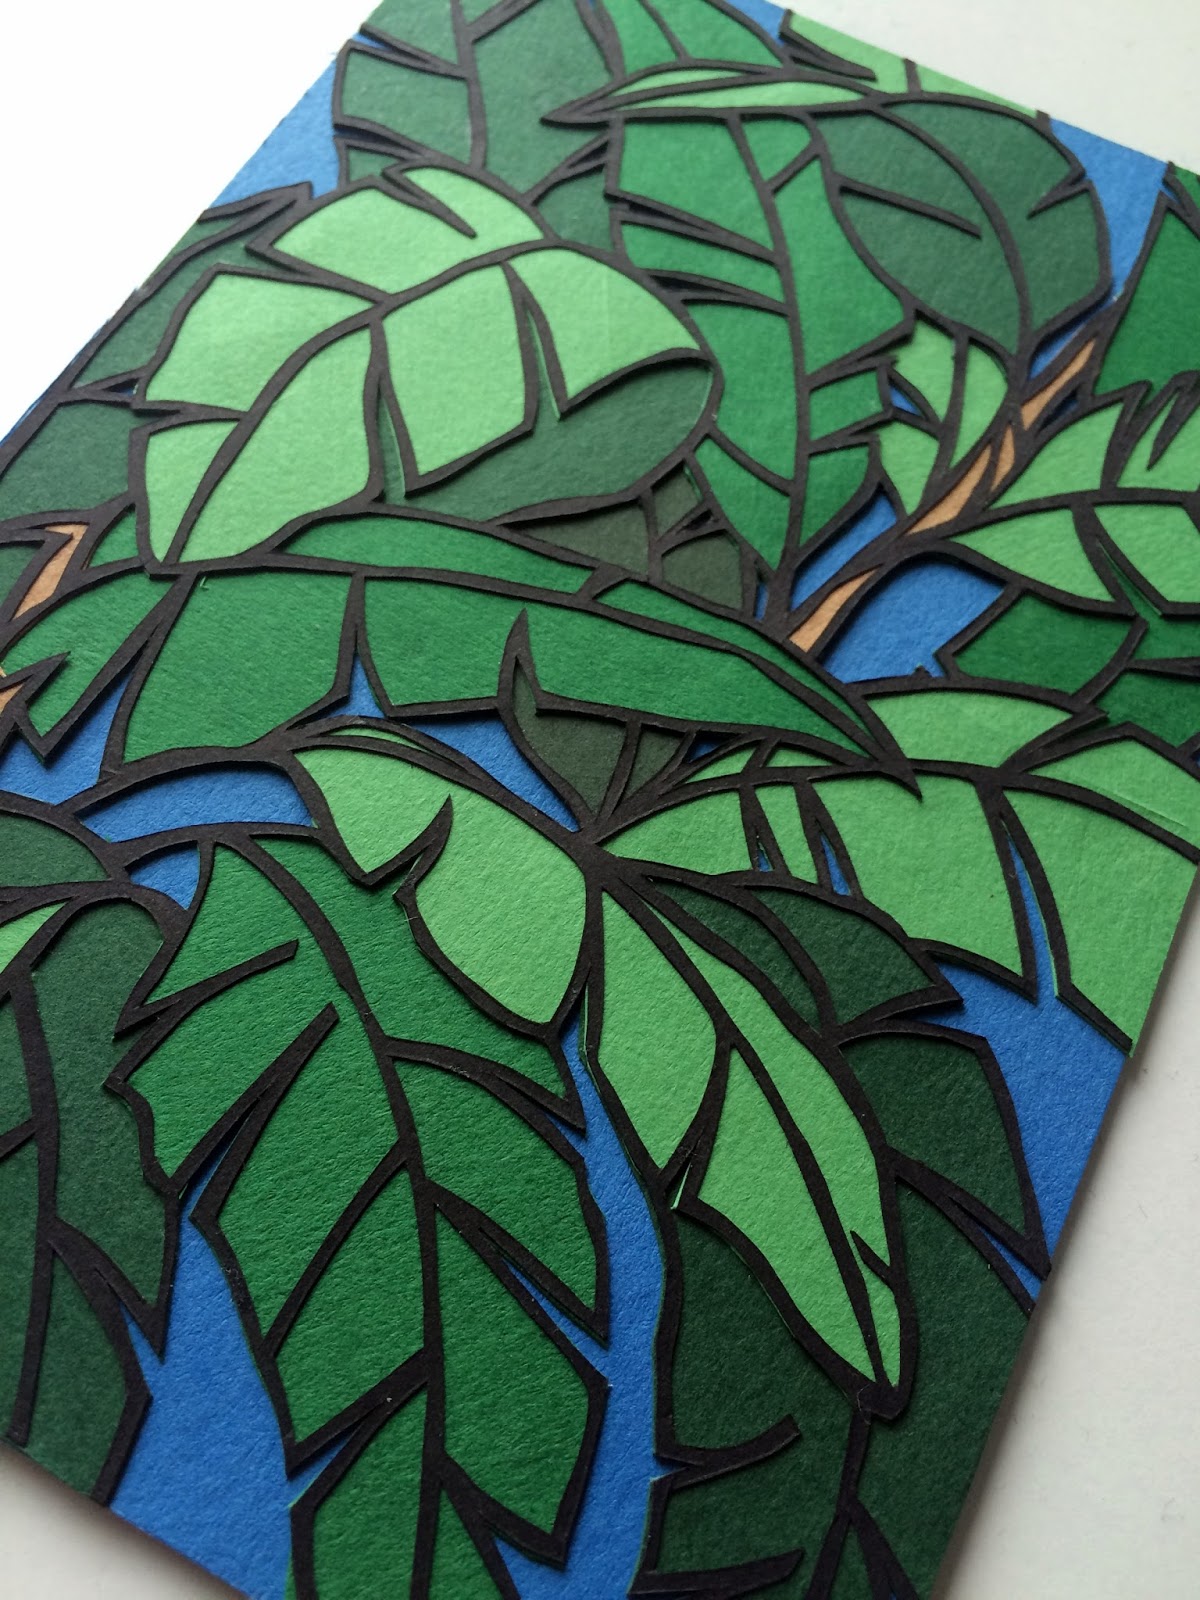
It's also now available to buy in my shop if you want to bring some tropical decor into your home - and surely everyone wants that? 

I did a decent job of documenting stages of this piece: 

The intact outline, cut from one sheet
of black paper.
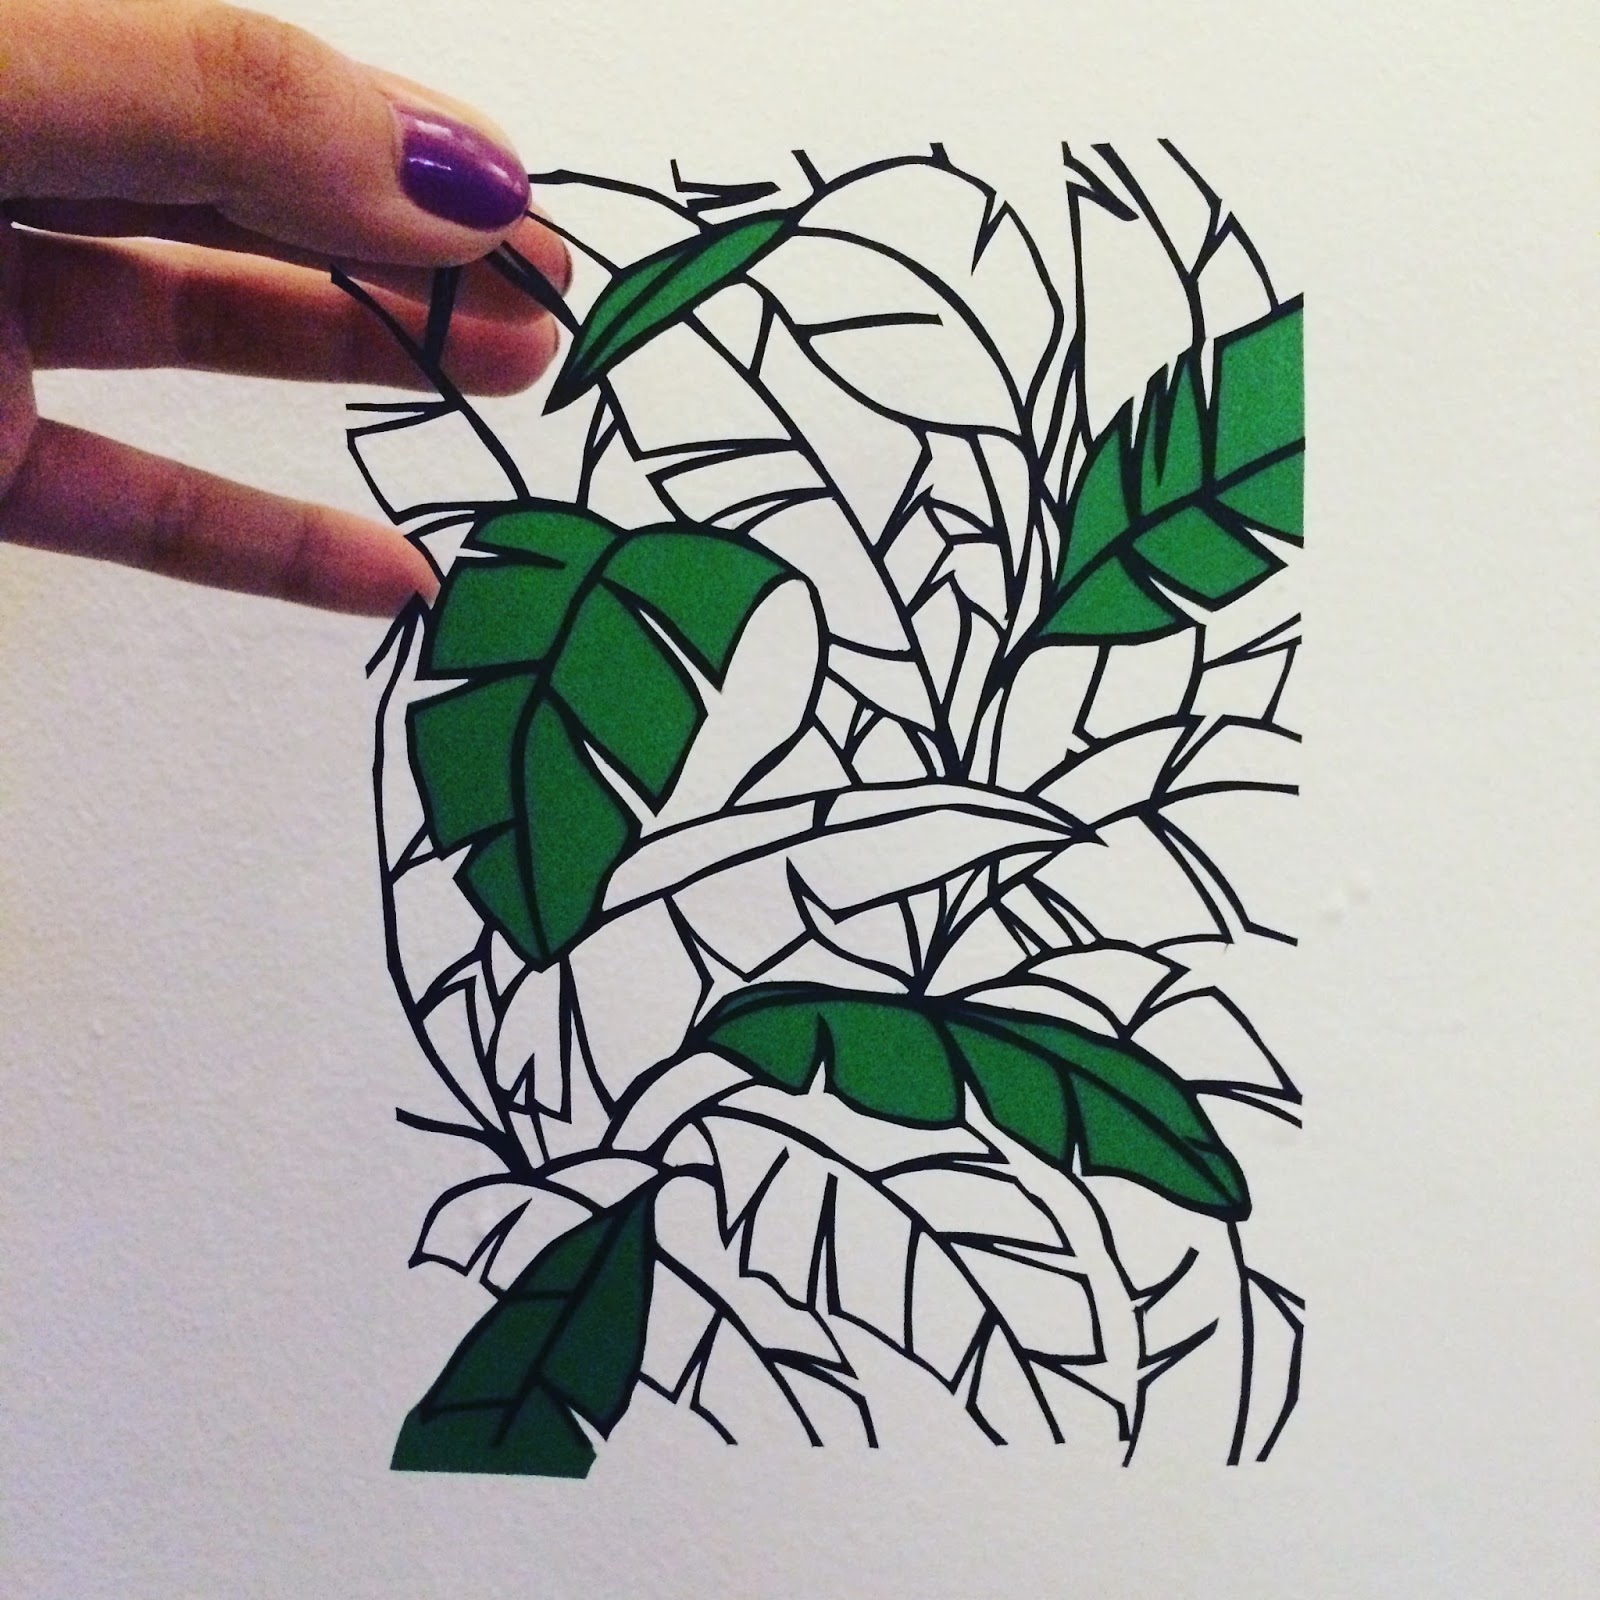
The first, lightest colour green is
added...
The reverse of the papercut which
is always a scrappy mess!


All the shades of green are added
and just need to decide on the
background.


This was pretty daunting to begin to assemble. Once I finished the outline and had to start deciphering what leaf should be what colour I had a headache for a while. But once I got stuck in it all came together. 

It was fun to take the plants I've done earlier another stage further and get involved in some detailed foliage. 

I think this would be awesome as a tessellation print...it's got me thinking about papercut patterns and some of the blackwork embroidery I did.

More on that soon.  What other plants could I do? Thoughts?

Sunday, 24 April 2016

Papercut giveaway! Plants and lamps

I'm on a roll with the paper cutting - James bought me a drawing table for my birthday and I slotted my cutting mat onto it and hey presto: no more hunching over the living room table!

To celebrate my increased productivity and improved working conditions I thought I'd giveaway my latest papercut: 


I really like how this little guy turned out! I love the lamp...its a vintage red anglepoise that we picked up in a Crystal Palace second hand shop and I use it for all my crafting and cutting so it seems like a fitting tribute. 

So how do you enter? Well, this lamp is one of my favourite things in our home - so leave a comment on here or over on my Instagram post (or link on the right) telling me what your favourite piece in your home is. 

We are in the process of buying a house (eek!) and we'd love some inspiration!

This is open to anyone anywhere and postage is included. 

I'll choose a winner at random on Saturday 30th April. 

(A bit more about the piece: Its an original piece of papercut art, designed and handcut by me from layers of artist quality paper. Its 10cm x 15cm so will easily pop into a standard sized photo frame) 

Thanks for in inspiration and good luck!

Saturday, 23 April 2016

Pomegranate papercut

I love pomegranates. We had a little ornamental pommie tree in the front garden of my house growing up. The fruits weren't edible but it didn't stop me from trying (more than once).

I'm really enjoying the new direction of my papercuts so I decided an ode to my favourite fruit was in order.


Those pips! Gah. But it was worth it. Here's a closer look at some of the detail:


And here is an interim point in the cutting that shows the outline. I overlay it on each new colour to see how it will look...and I'm always tempted to stop at this point. 

In this case I'm glad I carried on but maybe with a future piece I'll stop, we'll see. 

This piece is now available in my shop

Monday, 11 April 2016

Pot plant papercut

I did another papercutting this weekend and although halfway through I felt like I was going insane I am so so pleased with how this turned out! 


This piece reminds me a lot of Jean Jacques Rousseau, He was one of my favourite artists growing up. I love all the stylised foliage in his jungle pictures. Apparently he spent a long time in botanical gardens painting different exotic plants which he later used in his paintings (that from a essay I wrote for my IB art class..). 


I especially like that this piece depicts our actual plants on our actual window sill. Most of my papercuts are pulled from my imagination so it was nice to do something different. 

But man, I could really tell that this was a new direction...I must have gone through 10 blades cutting this piece. That window pane was a killer. I'm glad I stuck at it as the lines of the panes work really well with the organic shapes of the plants. 

I'm excited to do more of these but for now this one is now available in my shop


Saturday, 9 April 2016

Deer papercut - now in shop

So I finally did a new papercut! It's been ages as I have been busy with my quilt. I have had some plans rattling around in my head for a while and haven't really been able to get them out...


This isn't the actual project I had in mind but as it is a departure from my usual style and process for papercutting I just wanted to do a quick project to test the water. 

I actually did most of this piece one Sunday evening so it was fast which was really satisfying. 

The black outline approach is new for me...it does add a layer (haha) of complexity but I do like the way it looks like stained glass. 


Here's how it came together:


1. I used a white pen to sketch the
outline of the image and then cut out
the lines..
2. The finished outline - this is all cut
from a single piece of black craft
paper.


3. I started building up the colours inside
the outlines. I started with the foreground
- flowers, deer and worked backwards. 
4. Building up the various layers to
create the background and sense of
depth.


And...done! I like how it turned out and it was fun to try a new style. I also feel like I have a better idea of how to take forward a bigger project that I am trying work out. Although probably more smaller projects like this are in order before I dive into that so keep posted... 

This piece is now available for sale in my Etsy shop

Sunday, 26 July 2015

The owls are not what they seem - Twin Peaks papercut

I think owls were one of the very first papercuts I did way back in 2007 (?) - and I seem to come back to them every couple of years. 

This latest one I started months ago...and sort of lost the thread and put it aside for a bit, which then turned into a bit more than a bit. While I was doing a big paper tidy up and inventory today it turned up in a pad of paper and I was finally inspired to finish it up (also, it was super rainy so the garden was in no way tempting..).


So I had started the pair of owls, a big and little, framed with a circular branch in turquoise but I wasn't really sure what to do next...although I liked the dark blue background as it was a nice contrast to the owls and looked night-time-ish.


Technical side note for anyone who cares: Gluing down all this sort of piece, especially when it's origami paper rather than artist paper (which is thicker) is always the most tricky bit of the process. I have tried a bunch of different approaches - glue sticks, glue pens, and starch paste...I use all of these at some point but my preferred method is good old pva glue, a toothpick and a load of patience...

Anyway, back to the owls...the night-timishness of the dark blue (and my recent sorting and discovery of lots of grey paper) made me consider the addition of the moon which sort of left a gap in composition. I have been meaning, and avoiding, attempting lettering in papercut but this seemed like a good opportunity to try. 

Twin Peaks has been a long standing fixture in my life since uni...I've lost count of how many times I've watched it and quoted it and it was a definite plus (on both sides) when James and I were in the early stages of dating and realised the other was a fan.

So going down the 'owls are not what they seem' route was a bit of a no brainer. 


The lettering was not a walk in the park but I like the way it turned out so I am up for the challenge of having another go. 

In the meantime, this piece is now available for sale in my shop - don't miss a chance to have a bit of original Twin Peaks art! 


Monday, 4 May 2015

Peacock papercut - prints and cards now in shop...

This post has been a long time coming... and another thing that was on my fast-depleting list of things to do for the bank holiday...

A while ago I posted here and here about a papercut I was doing featuring a white peacock. 


I loved how this turned out, especially as it's a departure from the traditional black-on-white approach. 

I decided to have the image reproduced on greeting cards and art prints and I think they turned out great!


The cards are A6 and come with a brown craft envelope and cellophane sleeve:


They are blank on the inside and have a nice weight to them and matte finish which works really well with the design. 

I've already sent a few to friends and family and had a great response so I'm really happy with these.


Next up were the art prints. I had these done as giclee prints on hahnemuhle photo rag paper, which I have used for printing my art before. I think the quality of the print and paper are just lovely. 

I had these done in A5 and A4 and although I love both, the A4 is really striking and looks amazing with the fine detail of the image. 


I'm glad to finally get these out and into the shop.  

Link to the cards is here and the prints, A5 is here and A4, here

Thanks for looking!

Tuesday, 3 February 2015

Finished Hamsa papercut

In what will hopefully be my longest ever work in progress (over 2 years!) I am massively relieved to have finally finished my Hamsa papercut. 

I had lots of other projects that I wanted to get on with but I made myself focus and get this done. Part of my hang up with this was that I had left all the fiddly little bits to the end and it just felt fussy and never ending!


I went back and forth over the borders. I finally settled on the tear drop shapes and I'm pretty happy with the way they turned out. 

As I mentioned in my first post about this piece, it's a bit of a departure from the conventional papercut approach where the whole piece is a continuous piece from a single sheet of paper. My Hamsa is made up of lots of smaller pieces, and man, it was hard. I can't count the number of flowers, dots and tears I lost in the process. Says a lot for the traditional method!

On the flip side though, it was fun to try something new. I especially liked building up the layers in in 'eye' and I love the lotus flower... I may need to get that incorporated into more pieces in the future. 

Glad to have this work in progress finally done! It will be in my shop soon...

Sunday, 25 January 2015

White peacock papercutting

It's been a while since my last post but I have been getting stuck into the new supplies and new projects...I haven't *quite* finished the Hamsa papercut, so more to follow on that soon.

I have gone back so some of my roots though in one of my recent projects. When I started papercutting, years ago, my main source of inspiration was the East African art movement, Tinga Tinga and peacocks were one of my preferred subjects. I haven't done any in a while and in this I wanted to do a very traditional papercutting piece, in white. 


I started out with a sketch in my sketchbook to plan it out. This was then transferred to white cartridge paper and then I started the cutting process. After a lot of the maps and more graphic work I have done recently this is one of the more organic and detailed pieces I have done in a while..which was a fun challenge.


This next bit was fun. I wanted to test out different options for the background for the final papercut - I didn't even want to wait until I was done with the cutting. 

I was torn about the choices. My boyfriend was really keen on the first one, the raspberry. Whereas I was keen on the one below, the dark purple, which I thought showed up the design better with contrast... 
It was a tough choice, and annoyingly, the wretched winter gloom hasn't done the pictures any favours - what would you vote for?  


Final choice to follow...I have further plans for the finished piece so stay tuned. In the meantime, here is the final, unmounted piece:


I'm pretty happy with the final result. 

When I told my Mum I was doing a white peacock she reminded me of an albino peacock we met on a family trip in the 1980's to Mt Kenya Safari Club. Apparently our family turned up with me, aged 3 or something only to find out that there was no kids allowed! 

We were hours away from home in Nairobi and my parents made a good enough case that I was such a well behaved child that no one would complain - which worked. 

I remember pictures of me and this white peacock that my parents took in the grounds of the hotel. 

It's nice to think that maybe that was a subconscious inspiration for this piece (Hi Mum!)

Sunday, 18 January 2015

New supplies!

I'm the worst for holding out to change a blade on my knife. I always leave it too long and when I finally do change it it feels so awesome to cut with a new one I curse myself for not doing it sooner..

So excitingly, 100 blades have just arrived in the post, hopefully this will make it easier to change as soon as I need to. 


Also, I have got a pack of origami paper. I usually use artist quality paper like this, so I'm excited to try something new. It's much thinner than the paper I usually use so I'm guessing it will be easier on my hand and on the blades. 

I guess I just need to figure out what my first project with this will be...

Saturday, 17 January 2015

Hamsa papercut

I had the idea for this and sketched it out over a year ago but work, moving and life in general got in the way and it was only when I was rummaging through my paper stash that I rediscovered it and decided to finish it up. 

The inspiration for this piece was actually from a key ring that my mum gave me a few years ago. The hamsa (or khamsa) is a symbol that has significance in Islam, Judaism and Christianity and is supposed to offer protection and ward off bad luck. More about it here.


Traditionally, papercuts are done from one single piece of paper and are all all parts of the image are connected. This one has lots of separate pieces so a bit of a departure from purist papercutting and my usual approach. 


There are a couple of bits that still need to be stuck down and then I need to cut out about a million dots for the border of the palm...which is daunting. I'll post the finished piece if and when I manage to get it done!


Sunday, 11 January 2015

Roof foxes

A few weeks ago I was looking out the kitchen window and noticed that there was a fox on the roof of the garages behind our flat. It was just curled up in the sun having a nap. Then, a couple of days later there were a few more. I have no idea how they get up and down from there but it's nice to see them hanging out. 


I've done a few fox papercuts in the past and these guys gave me a few ideas for a new piece, or maybe even a whole series...I'm pretty excited about this. 

I like Sunday afternoons that look like this....


Thanks for the inspiration roof-foxes!

Winter skies

I am not a big fan of winter at all. Back home (Kenya) it was the warmest point of the year so Christmastime involved drinks on the verandah and going to to the horse races with a barbecue. 

Even after 4 years in the USA and 12 in the UK I still hate the cold and I hate the dark. 


Although the other night on the way home there was an awesome winter sunset. I'd love to work this sort of colour palette and cloud pattern into a new papercut. I haven't done any trees in a while so it would be a good challenge to try some new effects with the sky.

So maybe winter isn't all that bad. It does go hand in hand with mulled wine after all. 

Sunday, 21 December 2014

Dragonfly papercut

I started working on papercuts in 2009 on a bit of a whim. A good friend of mine had heard me talking about wanting to quilt and bought me a rotary cutter and self healing mat. 

Five years on I am still thinking about quilting and have never got round to it but having the mat, paper and some time to kill started me on my papercutting journey. 

I always have plans for my next piece but recently I have been doing a lot of commissions, which is great, and always takes me in directions I wouldn't necessarily go. 

My friend Gareth wanted me to do a piece for his friends birthday. It was a pretty flexible brief, she likes dragonflies and Tenby and her name begins with the letter J. I have always fancied trying dragonflies but had never got round to it so this was great.

First, I did a preliminary sketch and selected the palette of colours. 

The three shades of green for the hills were taken from the colours in from the coastline at Tenby. These are the first pieces layers I fix in place. 


Next was the J - letters are tricky and any you can really tell if they are a bit wonky so I always print them off to use a template for cutting


For the grasses, and most things I cut in black, I sketched directly onto the paper with a white pen. The only tricky bit with this approach is you have to do it in reverse as the pen-side will be stuck down.

For the dragonflies I cut the initial shape out, 


 Then add the detail to on the reverse..


Cut away the detail in the wings,


and finally, assemble the final piece. I'm quite happy with it. The clouds were a last minute addition, they really helped lift it in terms of colour. 


It's a gloomy winter day here and the pictures have suffered as a result - but hopefully you get the general idea. 

More to come!