Showing posts with label personalised. Show all posts

Sunday, 27 September 2015

Making a baby quilt - Elephant ears and eyes (part 3)

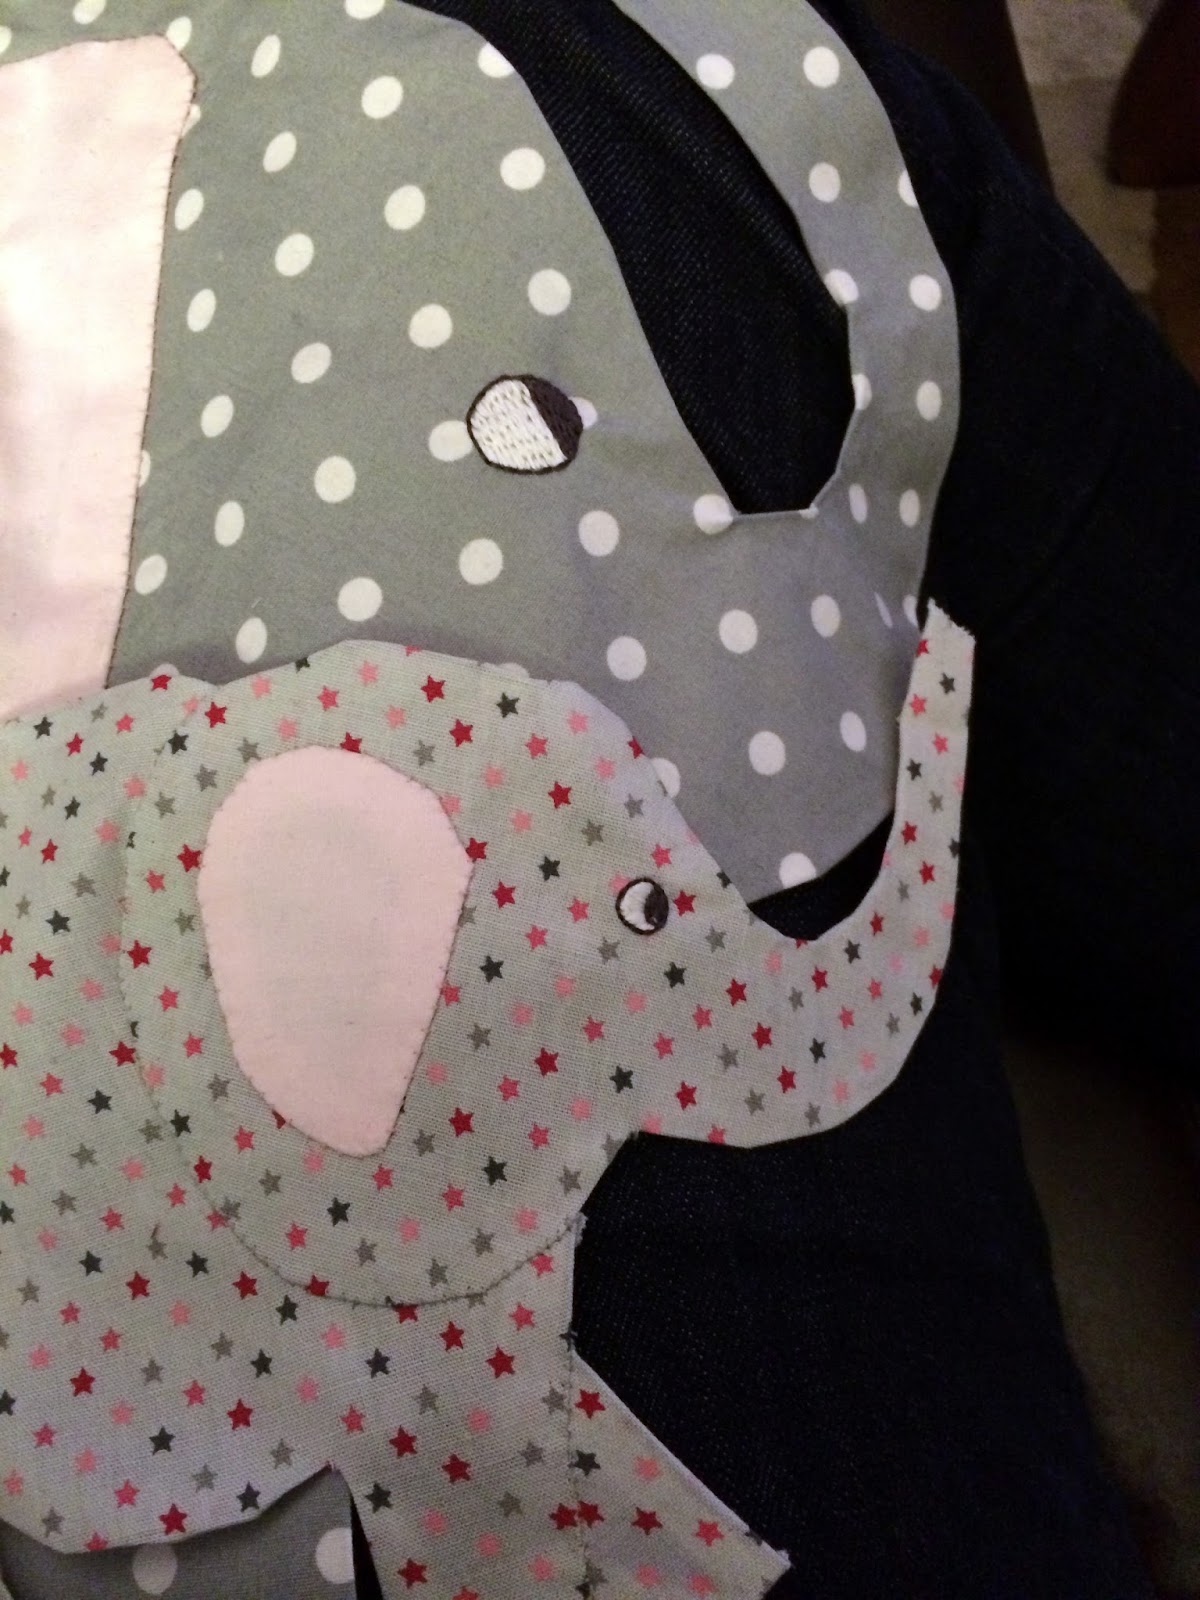
More progress on the quilt - I'm in the middle of a couple of fiddly bits on the elephants to sore them out. Ears and eyes. 

First and also undocumented (oops, sorry) I stitched all the pieces of the elephants together with invisible stitch - so the elephants are a now a single unit rather than a head, body and bunch of legs.

Ears, much like the other pieces are based on a paper template, fusible web and turning in the cut edges. I then pinned this to the elephant and stitched together:


On to the eyes. Embroidery - arg. I have embroidery thread from old cross-stitch endeavours, but really I am just winging this and basing what I need to do on stuff that my Mum taught me when I was a kid. 

So the eye. I used a basic satin stitch for the white and black of the eye and outlined with a running stitch. It's not my forte at all, but luckily this turned out ok, I think. 


I'm chuffed with this - they look cute. I like how they are taking form. 


Next is the balloons - I would have had more on this but I forgot to wash the fabric - and I'm a grown up now and know this isn't a stage you miss (see here). But happy with the result so far!

Making a baby quilt - Appliqué sun (part 2)

I mentioned my first steps of my baby quilt in my last post, here.

I made some good progress this weekend, luckily as the baby was due last Friday - luckily the baby is shy and hanging on and buying me some time (thanks baby!).

When I left off I had done most of the elephants - folding in the edges of the various pieces they are comprised of and securing with fusible web. 

Next I tackled the sun. I wanted this placed in the top left corner - I find it helpful to have the quilt topper out so I can test composition options:


I used a conveniently yellow piece of scrap paper to check size and placement. 

Also at this point I was looking at different options for binding - the red at the bottom was considered and then discarded. I have other plans for red. 

Back to the sun - when I tried this I decided that I wanted a spikey (?) sun rather than a smooth round one. Nice. Much more work!


1
2
3


4


1. I used the paper template to trace a circle of fusible web and yellow fabric with a 1/4 in seam allowance. Two points to note here - first, the little 'v's nicked out of the seam is a good trick to help turn in a round seam. Second, I folded the template circle into eighths to give the width of each of the sun-rays (spikes!)

2. Folding in the seam allowance bit by bit and pressing as I go to secure with the fusible web.

3. All edges folded in and secure, on the reverse side.

4. Right side up - main bit of the sun done!

5
6


5. For the spikes/rays I cut out a triangle template with the edges of the same witdth of the folded template in picture 1. I cut out eight triangles of fusible web, and eight triangles of yellow fabric (with a 1/4 inch seam allowance). I placed the triangle of fusible web in the centre of the fabric, nipped the corners off to help with the folding in, and pressed in each edge of the eight triangles. 

6. I pinned each of the triangles to the circle and stitched together with invisible stitch. 

Sun: Done. 


Tuesday, 30 December 2014

Custom papercut map

A relatively new addition to my Etsy shop has been these custom papercut maps...These are great fun. I love the variation in each and getting a small glimpse into places that matter to people...family homes, places where you got married, places where you lived.


One of the things that I have had to wrestle with these is they often look massively hectic and messy halfway through. With most papercuts I think of them like carving a sculpture, chipping away the negative space to reveal the image. These are more like lino cuts, layering up the different colours, figuring out what layer needs to be cut away to expose the one below.


Once these are through the hectic phase it all falls into place. I love how these turn out, looking quite abstract to someone who doesn't know but make perfect sense  to the person that commissioned it. 

I think its such a neat way to commemorate a place that means something to you.

Available in my Etsy shop, or just drop me a message if you want to know more.